

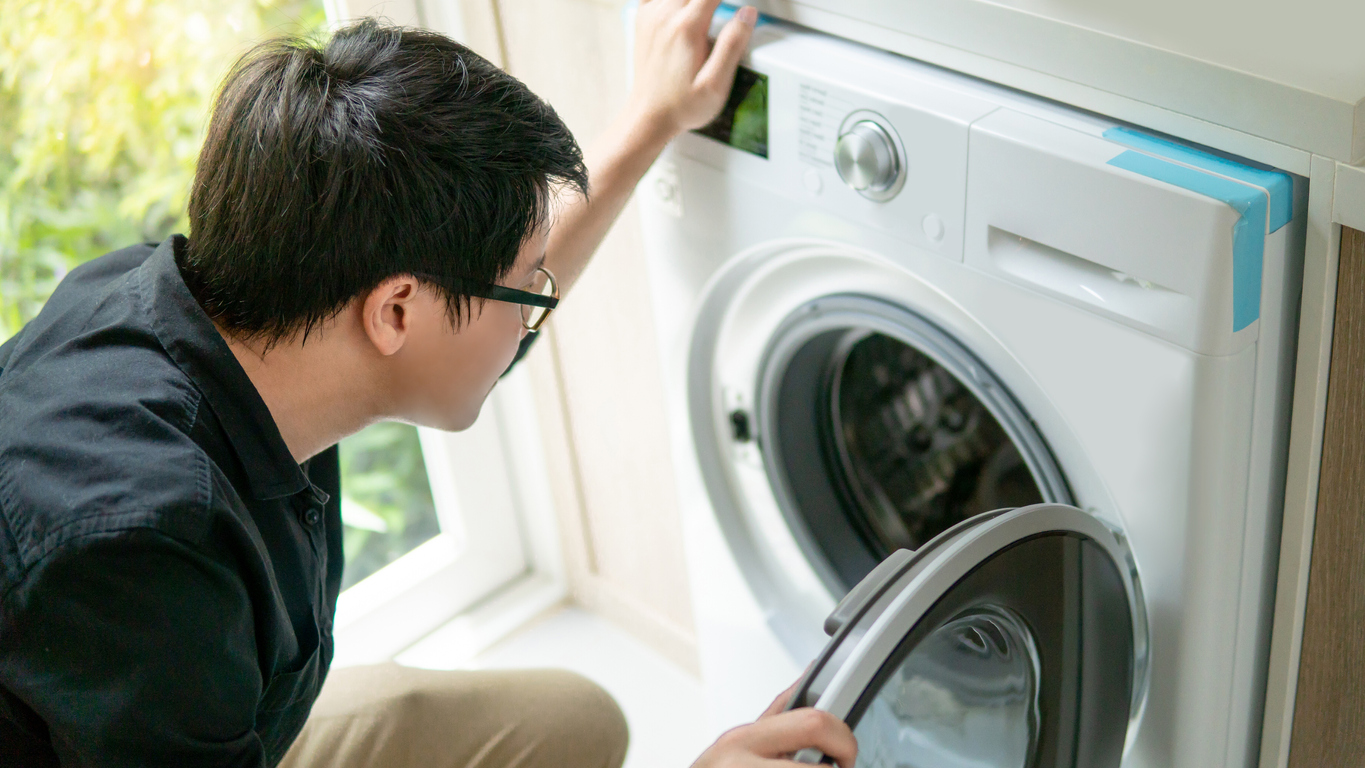
No matter the type of unit you have, whether it’s a gas or electric dryer, they all rely on a belt for rotation. That continuous motion is what dries your clothing, bedsheets, and towels. Knowing when you need a dryer belt replacement can be tricky, and it helps to know whether you should fix your dryer yourself, call a technician, or replace the machine altogether.
The average American household does roughly 50 pounds of laundry per week, so it’s not hard to imagine a dryer belt fraying and eventually snapping. If you regularly overload your dryer with sheets, sweatshirts, and towels, you may hit that point sooner than other households. Below, we cover what a dryer belt actually does, the warning signs that yours is failing, what a dryer belt replacement costs in 2026, and a full step-by-step guide if you want to tackle it yourself.
Shop Dryers at East Coast Appliance
If a belt replacement isn’t worth it, browse gas, electric, vented, and ventless dryers from every major brand at everyday low prices.
What Is a Dryer Belt and What Does It Do?
A dryer belt — also called a drum belt or drive belt — is a long, thin loop of reinforced rubber that wraps all the way around the outside of the dryer drum. One end loops around the motor’s drive pulley and the other rides over an idler pulley that keeps the belt under constant tension. When the motor spins, the belt turns the drum, and the drum tumbles your laundry.
Most residential dryer belts are only about a quarter of an inch wide and roughly 90 inches long, with grooves on one side and a smooth surface on the other. That thin profile is exactly why the belt is usually the first thing to fail: it is the single component absorbing the friction of every load you have ever dried. The good news is that it’s also one of the cheapest parts in the machine, which is what makes a dryer belt replacement such a worthwhile repair.
It’s worth knowing that the belt rarely fails in isolation. The drum rollers, idler pulley, and drum glides wear on a similar schedule, so a belt that snaps early is often a symptom of a seized roller or a pulley that has stopped spinning freely.
6 Signs You Need a Dryer Belt Replacement
There are six main symptoms that point to a dryer belt replacement. Take a look to see if your appliance is showing any of them.

1. Your Dryer Won’t Start
The biggest sign that your appliance could use a dryer belt replacement is if your dryer won’t start a cycle. Of course, check first to make sure the dryer is hooked up correctly and that you don’t have any electrical issues. Your dryer’s door sensor could also be malfunctioning which, in turn, will leave you with wet clothing. But if all those check out and are working, your dryer belt could need replacing.
2. You Hear Loud Noises
If you haven’t loaded tennis shoes or heavier items into your dryer but still hear a rhythmic thumping, squealing, or grinding sound, it could be a fraying or slipping belt. If you don’t mind the noise, you can call a repair technician to come and fix the belt once it snaps. But we advise a little DIY handiwork for a loud belt. If you let it go for too long, it can further damage your dryer.
3. Your Dryer Stops Before the Cycle Is Over
If your dryer randomly stops and won’t turn back on, leaving your clothes wet, then most likely, the dryer belt is to blame. But if you are able to restart your dryer after a stop, you may want to check the moisture sensors.
4. Your Drum Won’t Spin
The drum is the largest part of your dryer, and if this part isn’t turning, there is a problem. If you can hear the motor of your appliance running but notice the actual dryer drum isn’t turning, then most likely, your dryer belt has snapped and needs to be repaired. This is the single most reliable symptom of a broken belt.
5. The Drum Spins Too Freely by Hand
Open the door with the dryer unplugged and spin the drum by hand. On a healthy dryer, you should feel real resistance from the belt and idler pulley. If the drum spins loosely, like a bicycle wheel, with almost no drag at all, the belt has almost certainly snapped or slipped off its pulleys.
6. You Smell Burning Rubber
A hot rubber or scorched smell during a cycle usually means the belt is slipping against a stalled pulley or a seized roller instead of turning the drum cleanly. Stop the cycle and unplug the dryer. A slipping belt generates real heat, and combined with lint buildup it becomes a fire hazard.

How Much Does a Dryer Belt Replacement Cost?
The belt itself is one of the least expensive parts in your entire laundry room. Almost all of the cost of a professional dryer belt replacement is labor, which is exactly why this repair is such a popular DIY project.
- The belt alone: Most residential dryer drum belts run $10 to $30. A complete kit that adds drum rollers, an idler pulley, and belt lubricant typically lands between $30 and $70.
- Labor: Appliance technicians generally charge $50 to $110 per hour, plus a service call or trip fee of $40 to $80 just to come out.
- Total professional cost: Expect roughly $100 to $250 for a professional dryer belt replacement, with most homeowners paying around $150 to $160. Complex stacked or ventless units sit at the higher end.
- DIY cost: Just the price of the part, so $10 to $70 in most cases — a savings of well over $100 compared to a service call.
- Time required: Between 30 and 90 minutes depending on your dryer’s design and how comfortable you are pulling panels.
For context, a new dryer runs anywhere from $400 to $2,300 depending on capacity and features. When your dryer is otherwise healthy, a belt replacement is a fraction of that and easily worth doing.
Recommended Read: 5 Average Appliance Repair Costs You Can Expect
How to Replace a Dryer Belt Step by Step
Once you’ve confirmed the belt is frayed or has snapped, your next move is to replace it. Although a dryer that won’t run feels like a major disruption, dryer belt replacements are relatively easy and cheap.
Tools and Parts You’ll Need
Gather everything before you start so you aren’t hunting for a screwdriver with the dryer half apart.
- The correct replacement belt: Match it to your dryer’s model number, not just the brand. You can find the model number on a sticker inside the door frame or behind the lint trap.
- Nut driver set: A 1/4-inch and 5/16-inch nut driver will cover most dryer cabinet screws.
- Putty knife or panel tool: Used to release the spring clips holding the top panel on many top-load-style dryers.
- Phillips head screwdriver: For the control panel and front bulkhead brackets.
- Work gloves and a flashlight: Sheet metal edges inside a dryer cabinet are sharp, and the cabinet interior is dark.
- Vacuum with a crevice tool: Optional, but you will never have better access to clear out years of accumulated lint.
You can pick up belts, rollers, hoses, and other laundry machine components along with the rest of our laundry accessories at East Coast Appliance.
The Replacement Steps
Below is a general guide on how to replace a dryer belt. Consider that this process may vary depending on which model of dryer you have, whether that’s a Samsung, Maytag, Whirlpool, or LG unit.
- To avoid electric shock, unplug the appliance’s power cable. If you have a gas dryer, shut off the gas supply valve as well.
- Remove the top panel of the dryer by unthreading the screws or lifting and supporting it (this may require detaching the dryer control panel first).
- Remove the front panel or panels of the dryer. Before you can fully remove the front panel, you may need to detach a door switch wire.
- Behind the front panel of certain dryer models is a bulkhead that supports the drum. Uninstall the bulkhead after removing any brackets and disconnecting any sensor wire connectors.
- If the old belt is still intact, reach beneath the drum and depress the idler pulley to release the tension, then disconnect the belt from the idler pulley and motor drive pulley.
- To remove the old belt, slide it over the front of the drum.
- Inspect the drum rollers and idler pulley while you have access. Spin each one by hand. If any feel gritty, wobbly, or refuse to turn freely, replace them now rather than repeating this teardown in six months.
- Replace the old belt on the drum. To grip the drum properly, most dryer types require the grooved side of the belt to face inward.
- In a zig-zag pattern, loop the belt around the idler and drive pulleys.
- To assist in positioning the new belt, rotate the drum by hand.
- Install the front bulkhead on the cabinet frame again, ensuring the drum is centered on the bulkhead. To secure the bulkhead, reconnect any sensor cables and reinstall any bracing or supports.
- If required, reconnect the door switch wire connector before reinstalling the front panel or panels.
- As needed, reinstall the top panel and control panel.
- Reconnect the power cord after the reassembly is complete, then run a short empty cycle to confirm the drum turns smoothly and quietly before loading laundry.
DIY vs. Pro Repair vs. a New Dryer
A dryer belt replacement is only the right answer some of the time. Here is how the three options compare on cost, effort, and who each one actually suits.
| Factor | DIY Belt Replacement | Professional Repair | Buy a New Dryer |
|---|---|---|---|
| Typical Cost | $10 – $70 (part only) | $100 – $250 installed | $400 – $2,300 |
| Time Required | 30 – 90 minutes | One service visit | Shopping plus delivery and install |
| Skill Level | Beginner to intermediate | None required | None required |
| Tools Needed | Nut drivers, screwdriver, putty knife | None | None |
| Warranty Impact | May void an active warranty | Warranty stays intact | Starts a fresh warranty |
| Fixes Other Problems | Only what you diagnose yourself | Technician spots related wear | Resolves everything at once |
| Energy Savings | None | None | Meaningful on older units |
| Best For | Dryers under 8 years old with one clear symptom | Gas dryers, stacked units, or an active warranty | Dryers past 10 years with repeat failures |
If you’re leaning toward doing it yourself, weigh these tradeoffs honestly before you pull the first panel.
Pros
Major Labor Savings
Labor accounts for the large majority of a professional dryer belt replacement, so doing it yourself typically saves more than $100 on a part that often costs under $30.
Same-Day Turnaround
No waiting on a service window. With the belt in hand, most people finish the job in under 90 minutes and run laundry the same afternoon.
A Short, Cheap Parts List
A belt, and optionally a roller kit and idler pulley, covers the whole repair. There are no proprietary electronics or sealed assemblies involved.
A Free Deep Clean
With the cabinet open you can vacuum out years of lint from around the drum and blower, which improves airflow and reduces fire risk.
Cons
It Can Void an Active Warranty
If your dryer is still under manufacturer coverage, opening the cabinet yourself may forfeit it. Check your warranty terms before you start.
Easy to Misdiagnose
A drum that won’t turn can also mean a failed motor, a seized roller, or a broken idler pulley. Replacing the belt alone won’t fix any of those.
Reassembly Is the Hard Part
Routing the belt correctly around the idler and motor pulleys by feel, in a dark cabinet, is the step that frustrates most first-timers.
Real Safety Considerations
Gas dryers involve a fuel line, and every dryer involves high-voltage connections and sharp sheet metal. If either gives you pause, call a professional.
Dryer Belt Replacement by Dryer Type
Every dryer uses a belt, but how much work it takes to reach that belt varies quite a bit by configuration. Here’s what to expect from the styles we carry.
- Vented dryers: The most common and most DIY-friendly design. Vented dryers have straightforward cabinets with the belt accessible after removing the top and front panels.
- Ventless and heat pump dryers: Ventless dryers pack a condenser or heat pump assembly into the same footprint, so there is less room to work and more to disconnect. Budget extra time or call a technician.
- Stacked units and laundry centers: On laundry centers, the dryer sits above the washer and the whole unit usually has to be unstacked or pulled forward before you can open it. This is the configuration we most often recommend leaving to a pro.
- Washer dryer combos: All-in-one washer dryer combos share a single drum between both functions, so a belt failure often overlaps with other drive components and is rarely a beginner repair.
- Gas vs. electric: The belt path is essentially identical, but on a gas dryer you must shut off the gas supply first. If you’re weighing the two for your next purchase, our guide to electric vs. gas dryers breaks down the differences.
Should I Buy a New Dryer? 5 Common Dryer Issues
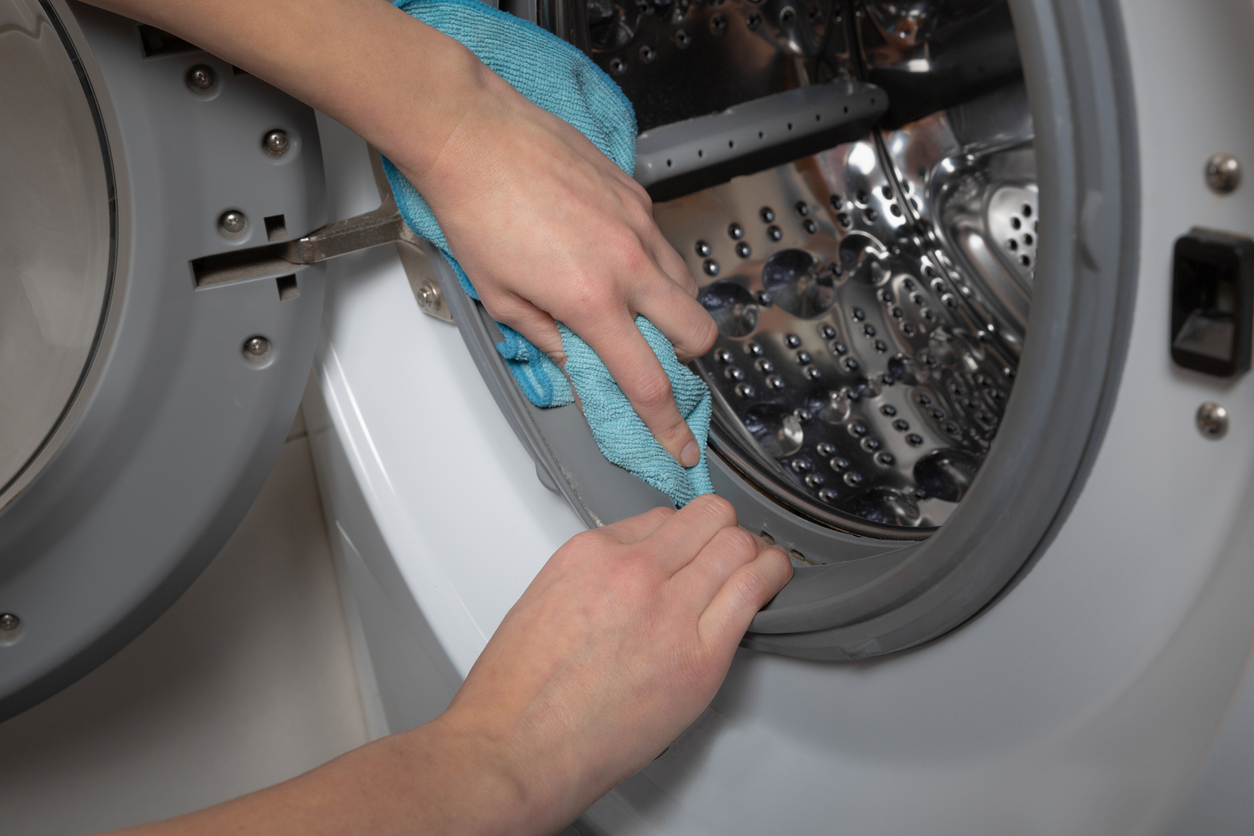
Shopping for a new dryer is no small task. You’ll need a budget, knowledge of electric vs gas dryers, and a list of desired features. Your dryer should last anywhere from 10 to 13 years, so before you head to your local appliance store, make sure your dryer can’t be fixed by a few simple DIY guides. Check out our list of common issues to see if you should buy a new dryer or if it just needs a dryer belt replacement.
Recommended Read: What Is the Best Washer & Dryer? + More Laundry FAQs
Loud Noises: If your dryer makes continuous loud noises while running, and you’ve checked to make sure your dryer belt doesn’t need to be replaced, then it’s most likely caused by overloading your appliance.
Likely Cause: Failed Dryer Drum Seal
✓ Solution: Replace the Seal
Doesn’t Heat Up: If your dryer isn’t adequately drying your clothing and you notice your dryer runs well but doesn’t heat up, it could be caused by blocked ventilation, excess lint, or overloading.
Likely Cause: Faulty Thermal Fuse, Blocked Ventilation, Lint
✓ Solution: Replace Thermal Fuse, Clean Dryer
Doesn’t Run: If your dryer simply doesn’t run correctly, there could be excess lint left in the vent, or the machine has been overloaded too many times. You may want to call a professional repairman for this issue if it continues.
Likely Cause: Clogged Vents or Lint Screens, or Faulty Thermal Fuse
✓ Solution: Replace Thermal Fuse, Clean Dryer, Call Repairman
Clothes Won’t Dry: If your clothing consistently won’t dry, and you’re left with sopping wet shirts at the end of the cycle, you may have a broken heating element.
Likely Cause: Broken Ventilation or Broken Heating Element
✓ Solution: Replace Heating Element or Clean Dryer of Lint
Shut Off Quickly: If you’ve experienced pressing start on your dryer, walking away, and the machine quickly turning off, your dryer either has broken ventilation or a broken thermostat.
Likely Cause: Overloading Machine, Clogged Ventilation, or Broken Thermostat
✓ Solution: Replace Thermostat or Clean Dryer
When Repair Stops Making Sense
A dryer belt replacement is almost always worth doing on a machine that is otherwise healthy. The calculation changes once the dryer is older and failures start stacking up. Use these guidelines to decide.
- Apply the 50% rule: If a quoted repair costs more than half the price of a comparable new dryer, replacement is generally the better value. A $150 belt job on a $900 dryer is an easy yes. A $450 repair on the same machine is not.
- Factor in age: Dryers average 10 to 13 years of service. Past the 10-year mark, one repair tends to be followed by another, and parts availability for discontinued models starts to thin out.
- Count the repairs: A single failed belt is normal wear. A belt, then a thermal fuse, then a heating element inside two years is a machine telling you it’s done.
- Consider efficiency: A dryer built more than a decade ago costs noticeably more to run than a current model, and heat pump units use dramatically less energy than the vented dryer you’re replacing.
- Think about the pair: If your washer is the same age and showing its own symptoms, a matching laundry pair often costs less than two separate replacements down the road.
If the math points toward a new machine, browse our front load laundry pairs, top load laundry pairs, or the full laundry lineup. Trusted brands like GE, LG, and Speed Queen offer extensive features and multiple sizes that get the job done in record time. Financing options are available if you’d rather spread the cost out.
How to Make Your Next Dryer Belt Last Longer
A dryer belt should last 8 to 12 years, or roughly 5,000 cycles. Belts that fail well before that almost always fail for the same handful of reasons, and all of them are within your control.
- Stop overloading the drum: This is the single biggest cause of premature belt failure. A drum packed past roughly three quarters full forces the belt to drag a heavier load against more friction on every rotation.
- Clean the lint screen every load: Restricted airflow makes cycles run longer and hotter, which ages the belt, the rollers, and the heating element together.
- Clear the vent duct annually: Lint accumulates in the ductwork where you can’t see it. Our dryer vent accessories make the yearly cleanout straightforward.
- Level the machine: A dryer sitting off-level puts uneven load on the drum rollers, which transfers directly to belt wear. Adjust the leveling feet until the cabinet doesn’t rock.
- Listen for early warnings: A new squeal or thump is the belt or a roller asking for attention. Addressing it early usually means one part instead of three.
- Run a drum cleaner periodically: Laundry machine cleaners keep residue from building up on the drum surface and inside the cabinet.
Frequently Asked Questions about Dryer Belt Replacement
In almost every case, yes. The belt itself costs $10 to $30 and a professional replacement runs $100 to $250, compared to $400 to $2,300 for a new dryer. As long as your dryer is under about 10 years old and isn’t showing other failures, a dryer belt replacement is one of the best-value appliance repairs you can make.
A professional dryer belt replacement typically costs $100 to $250, with most homeowners paying around $150. That breaks down to $10 to $30 for the belt, a $40 to $80 service call fee, and $50 to $110 per hour of labor. Doing it yourself brings the cost down to just the part.
The clearest signs are a drum that won’t turn while the motor still runs, a dryer that won’t start at all, a cycle that stops partway through, thumping or squealing noises, a drum that spins too freely by hand with the unit unplugged, and a burning rubber smell during operation. Any one of these points toward a dryer belt replacement.
Most dryer belts last 8 to 12 years, or roughly 5,000 drying cycles. Households that consistently overload the drum, skip lint screen cleaning, or run the dryer with a partially clogged vent will see belts fail considerably sooner.
A dryer belt replacement takes 30 to 90 minutes. A technician working on a familiar vented model will be at the fast end of that range, while a first-time DIYer working on a stacked or ventless unit should plan closer to two hours.
No. With a snapped belt the drum won’t tumble, so nothing dries, and the motor keeps running against a stalled load. Continuing to run it can overheat the motor and, if the loose belt contacts the heating element, creates a genuine fire risk. Unplug the dryer until the belt is replaced.
Ordinary wear accounts for most failures, but overloading is the leading accelerant. Restricted airflow from a clogged lint screen or vent duct makes cycles run longer and hotter, which dries out and cracks the rubber. Seized drum rollers and a stuck idler pulley also force the belt to slip and fray until it snaps.
On most dryers the grooved or ribbed side faces inward against the drum, with the smooth side riding on the idler and motor pulleys. Check your model’s documentation before reassembly, since a small number of designs reverse this and installing the belt backward causes immediate slipping.
You need a belt matched to your dryer’s model number, not just its brand. Belt length, width, and rib count vary between models from the same manufacturer. Find the model number on the sticker inside the door frame or behind the lint trap and order against that.
It’s usually worth it. Rollers, bearings, and idler pulleys wear on roughly the same 8 to 12 year schedule as the belt, and they’re only accessible once the dryer is already apart. Spending an extra $20 to $40 on a roller and pulley kit while you’re in there saves you from repeating the entire teardown a year later.
Why Trust East Coast Appliance?
Locally owned and operated since 1988, East Coast Appliance is the largest independent appliance dealer in Virginia. We sell it ALL — from new name-brand appliances to scratch-and-dent appliances to our very own refurbished appliances. Aside from our huge selection of every major brand and everyday low prices, what sets us apart from our competitors is that we service what we sell and that we are locally owned and operated with factory-trained associates. And if you’re a local, great news: East Coast Appliance is committed to providing the absolute lowest prices on the same available brand and model — simply bring in the ad of the local retail competitor while the lower price is in effect, and you’ll receive your price match.
Shop Dryer Parts and Dryers at East Coast Appliance
There is a reason we are dubbed “The Discount King” — for unbeatable deals, shop dryers and laundry accessories online at East Coast Appliance. Our friendly associates are always happy to answer any questions about dryer belt replacement steps, whether you call us or use our online chat feature. Better yet, stop by one of our showrooms to see why we are the best appliance store in Virginia. Visit us today!
Shop the Laundry Machine Components
Learn More: 5 Average Appliance Repair Costs You Can Expect